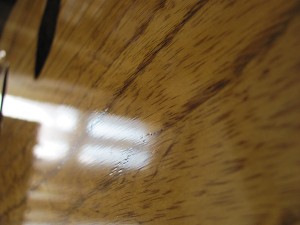
 So take a wild guess on the delays..yep, I stripped it back and started again. Again. This time however I found the perfect ratio of button polish to meths – 1:2 (double the meths) This gives a very thin solution that is extremely easy to lay on flat. I actually didn’t strip it, I wet sanded it back with 600 grit then put on 10 coats of the 2:1 solution. It looks great and I’m debating whether to
  leave it like this or knock back with 0000 wire wool and a mineral spirit/oil mix and then wax. It’s been sitting for about a week and I will give it another week to see if the finish is then robust enough to
  leave as it is.
I also refinished the neck. I wiped off the shellac with meths and then hit it with about 7-10 coats of the new mix. It feels great and is a nice golden amber. No knocking back for  the neck – I think it’s good to go.
Something I totally forgot to document before I started this (immensely drawn out!) diary was enlarging the ferrule holes in the body for a good fit.
Depending on what ferrules you are going to fit it only needs half a mm, which can be done a few ways. Five minutes with a dowel with sandpaper wrapped around it is perhaps the easiest method, but as I have a drill press I figured I go a different route.
I bought a stepped drill bit set. One of the bits has steps 1/4″ and 5/16″, which is just under 8mm. I cut off the 1/4″ step with a Dremel leaving me a nice cutting bit that provides a tight fit in both the flush fit smooth ferrules and the flanged knurled ferrules.
Into the drill press, line up the holes and pop pop pop pop pop pop it’s done.
My preference is for the flanged ferrules, but you can see from the picture that the flush ferrules work just as well.
Both are available on the site.
(Yes, I did use a new body to get these shots – I guess I have to do another build once this one is finished!)
Fingers crossed I should start the assembly in a week or so…
Recent Comments