The shellac I am using is a pre-mix. I chose pre-mix over mixing my own from flakes for pure ease of use.

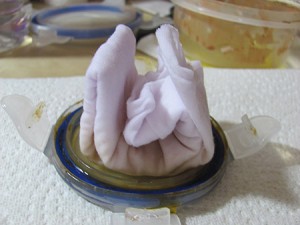
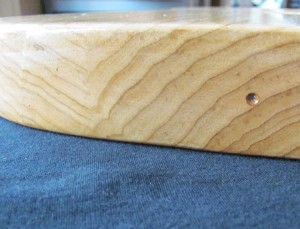
I’m thinning the shellac with methylated spirit (de-natured alcohol for our transatlantic friends) – about 50%. This makes it easier to apply as it doesn’t dry so quickly, and believe me, it dries quickly! For the applicator, I cut up a NOS cotton t-shirt (seriously – it was a promo t-shirt still in its packet) and cut and folded it so there were no seams. I also had a small amount of pure linseed oil to use for lubricant, if it should be necessary. I pour some meths on the applicator, then dip it into the shellac and apply in long even strokes, along the grain. The technique I am using is described as imagining a plane landing then taking off – this helps prevent build-up at the start and end of the stroke. I try and overlap each stroke only a very small amount. I started on the rear and applied one coat, left it to dry for an hour and then applied a second coat. This was left to dry for about three hours, then I started building the layers. First the edge, then the back. The Bench Cookies keep the body off the worktop ensuring clear space around the edge. Approximately 3 hours between coats. (I used a thin dab of linseed oil on the pad for the first few coats, but I found that it was not really necessary with the thin shellac solution I am using)

At six coats it was left to dry overnight, then flipped over and I started on the front. I continued to add to the edge while shellacking the front as the bottom edge was not taking the shellac as evenly as the rest.
With the top also at six coats, it is left to dry overnight.

Remember those Bench Cookies? Indispensable for this sort of thing. They have very thinly textured rubber on both sides to prevent slipping. This has left an impression in the shellac. I thought the shellac had dried enough that this would not happen, but it seems I was wrong. It’s not a problem, and in fact cannot be felt. I had planned to level the shellac at this point anyway, so out comes the 00000 steel wool.
Always working with the grain it only takes 5 – 10 minutes to completely level the entire body.
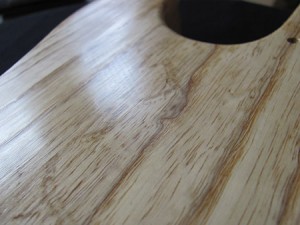
Waffles are gone, the edge is now smooth and level and the body has a beautiful satin sheen. There are a few imperfections where I did not sand back the sanding sealer enough, but they will be under the pickguard, so I am not overly bothered. They may “burn in” as I add more coats, but if not it is not an issue.

One of the great benefits of shellac is the way in which it seamlessly “burns-in” to the previous layer. This makes it particularly easy to repair. I applied one heavy coat across the grain to demonstrate this. The left picture was taken just before applying the next coat, and the right picture just after. Great stuff.
As the shellac I have been using is transparent, it has not significantly changed the colour of the ash from the remnants of the grain filler. Time to do something about that.
Recent Comments